Keystone Inputs
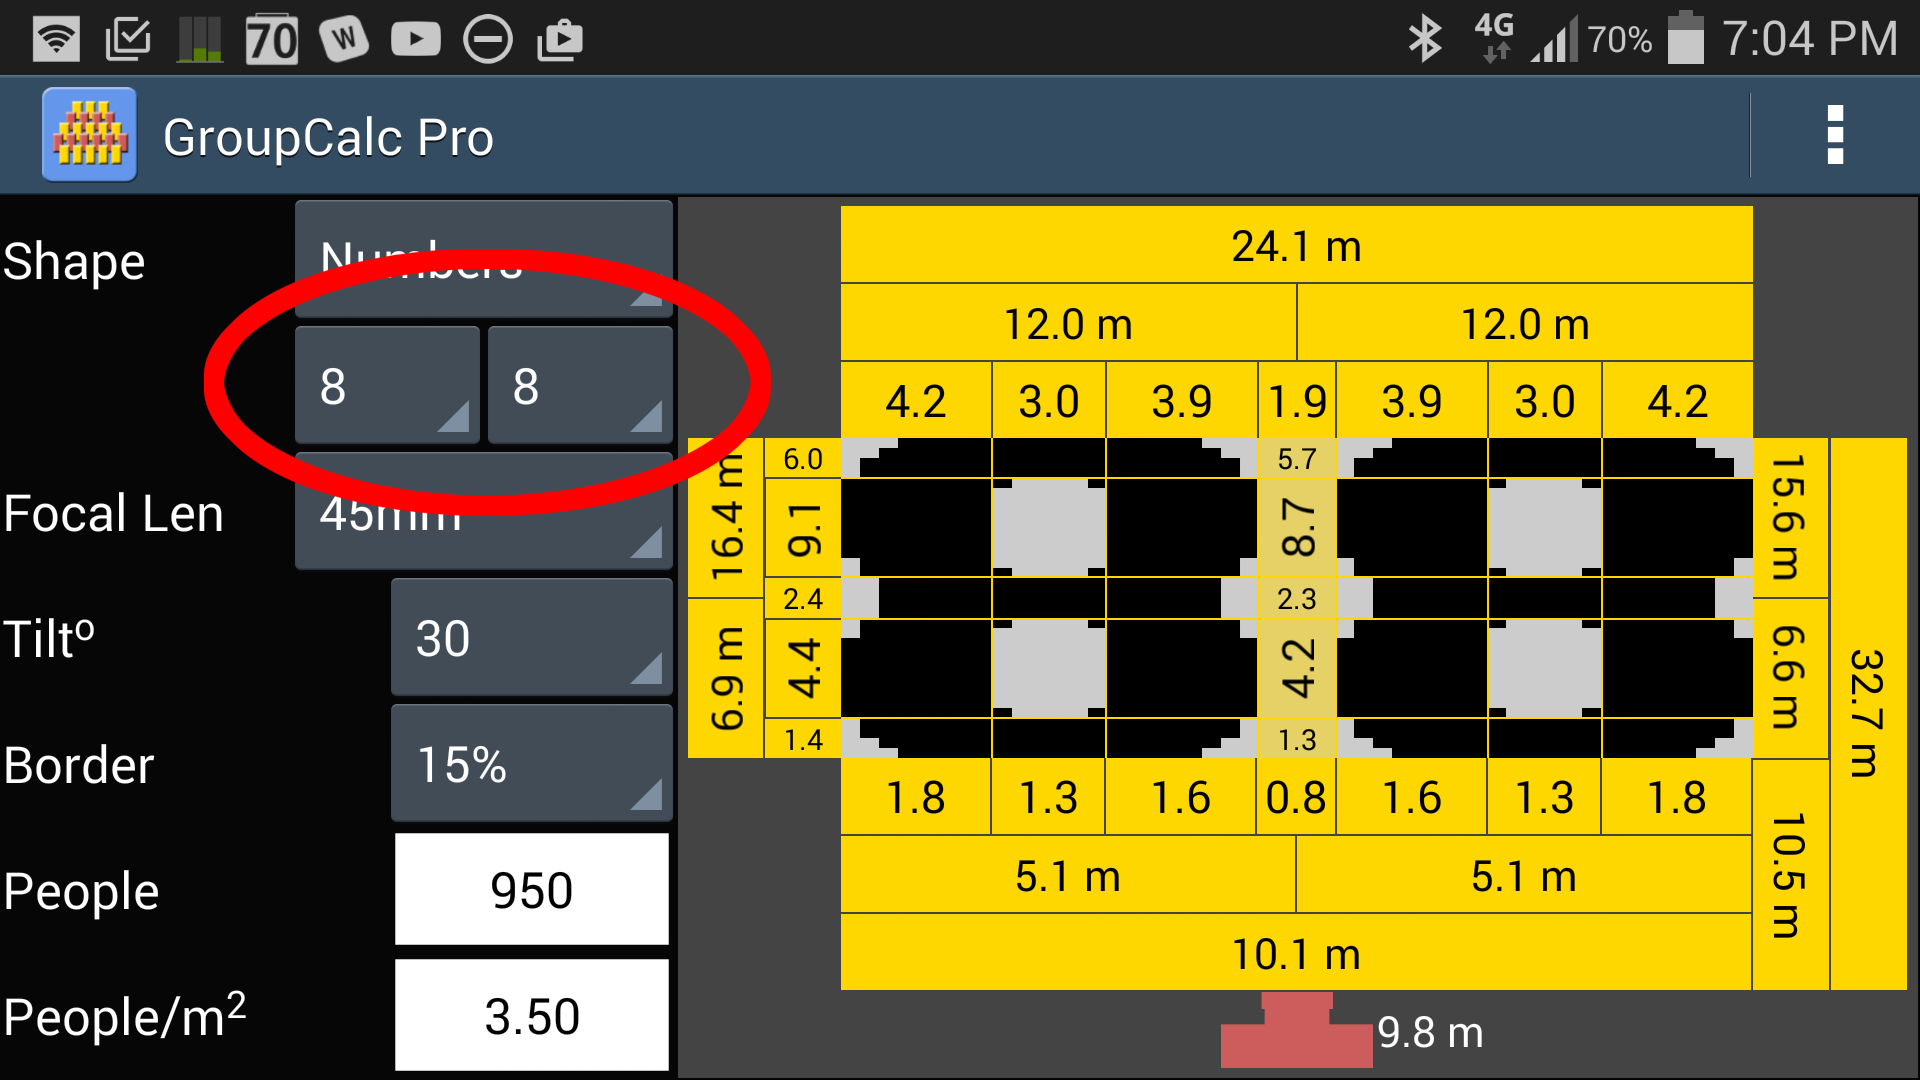
This is the number of people to appear in the photo, who are to be used to "draw" the shape you have selected.
If you are unsure of the exact number of people who will be present then it is better to over estimate than underestimate. It is easier to spread people out to fill the required space if you have fewer people than expected than it is to squash people together if extra people arrive.
This is where you set the shape that you want to draw with your group. You have three options
- Rectangle
- Numbers
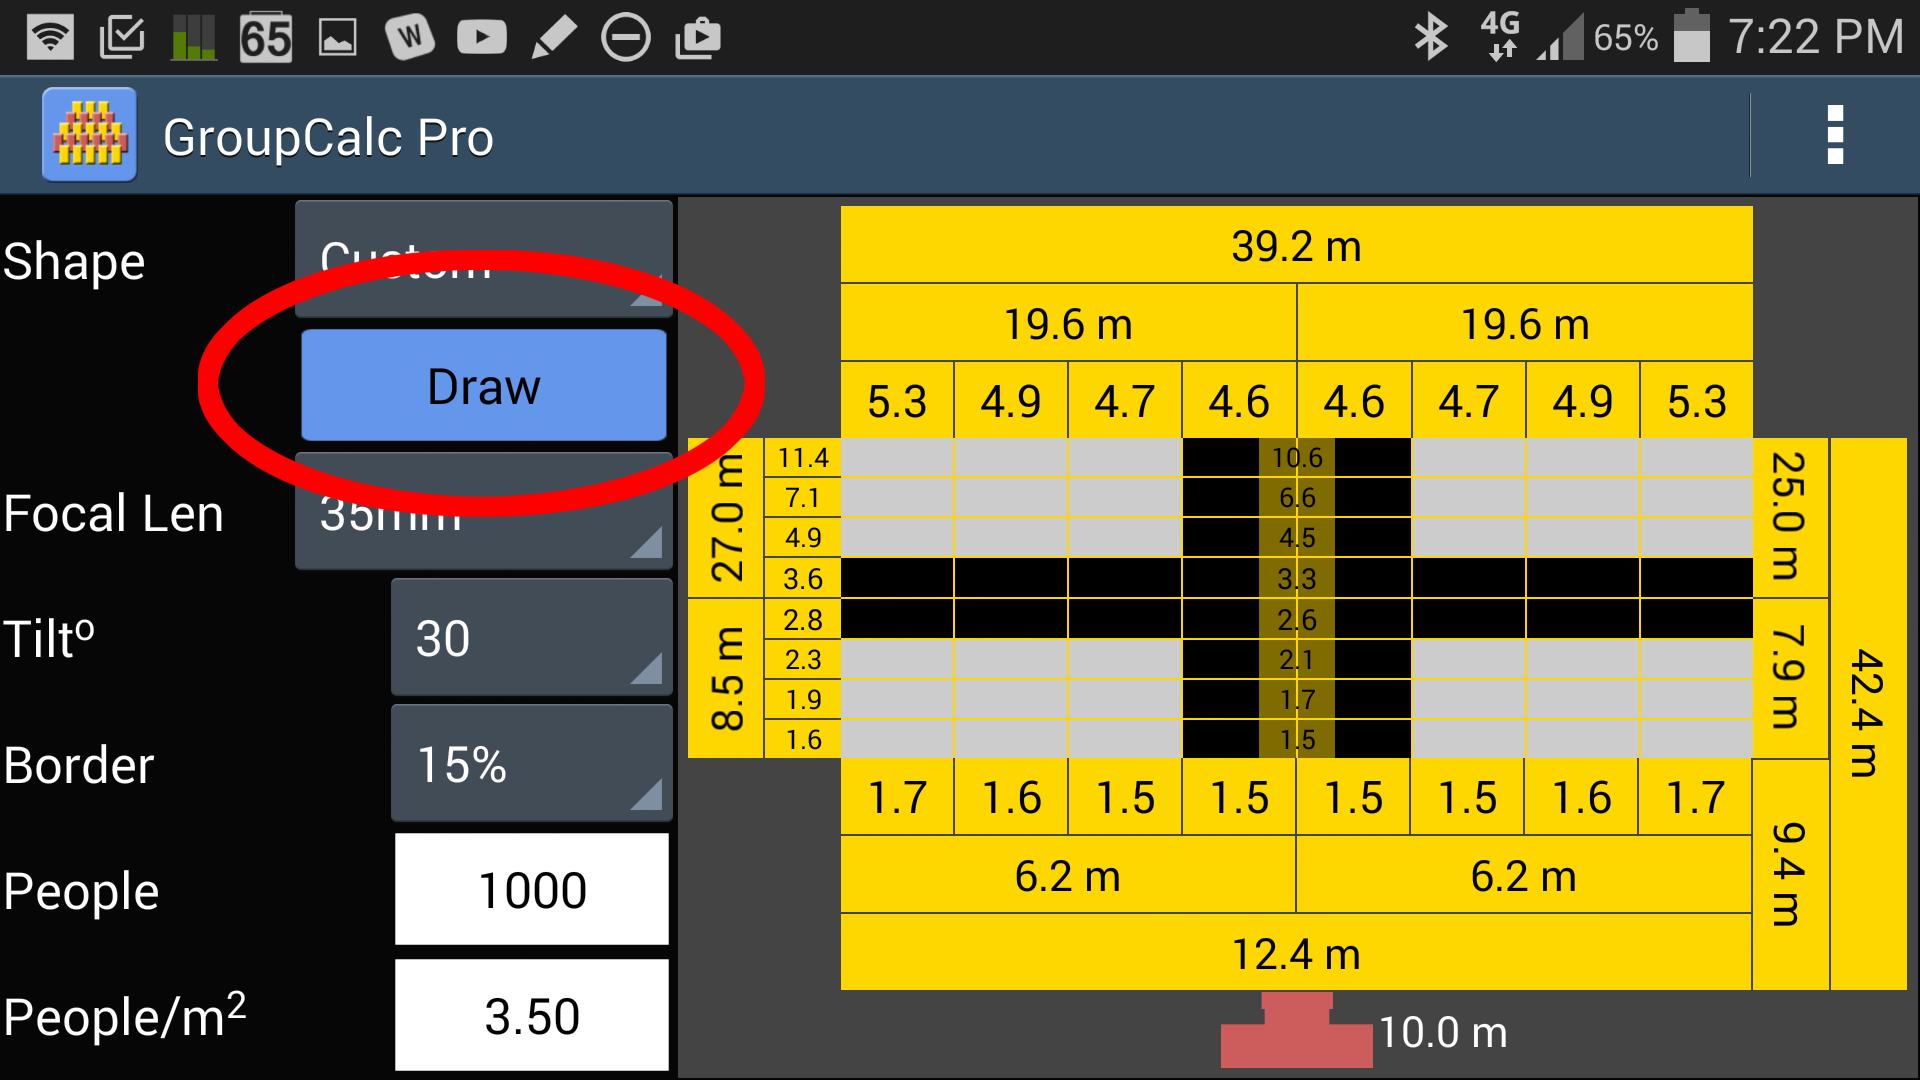
- Custom Shape
Rectangle
The group is to be arrange so that it appears as a rectangle the same shape as the camera frame, with a gap (specified in Border) between the edge of the group and the edge of the photo. Note that the calculator assumes a standard full frame aspect ratio of 2:3.
Numbers
The group is to be arrange into two numbers. When you set the Shape to "Numbers" two drop-down fields will appear which allow you to select the two numbers you want to use.

To simplify the measurement and layout of the number shapes on site, the numbers are based a digital clock style numbers made up of vertical lines and horizontal bars. If you want to use other number styles then set the Shape to "Custom" and draw the numbers you want with the Custom Shape editor (see next section).
Custom Shape
The Keystone Calculator lets you draw any shape you want using the Custom Shape editor. When you set the Shape to "Custom" the blue Draw button will appear.

Click on the Draw button to enter the Custom Shape editor. See How to Drawn a Custom Shape for more information.
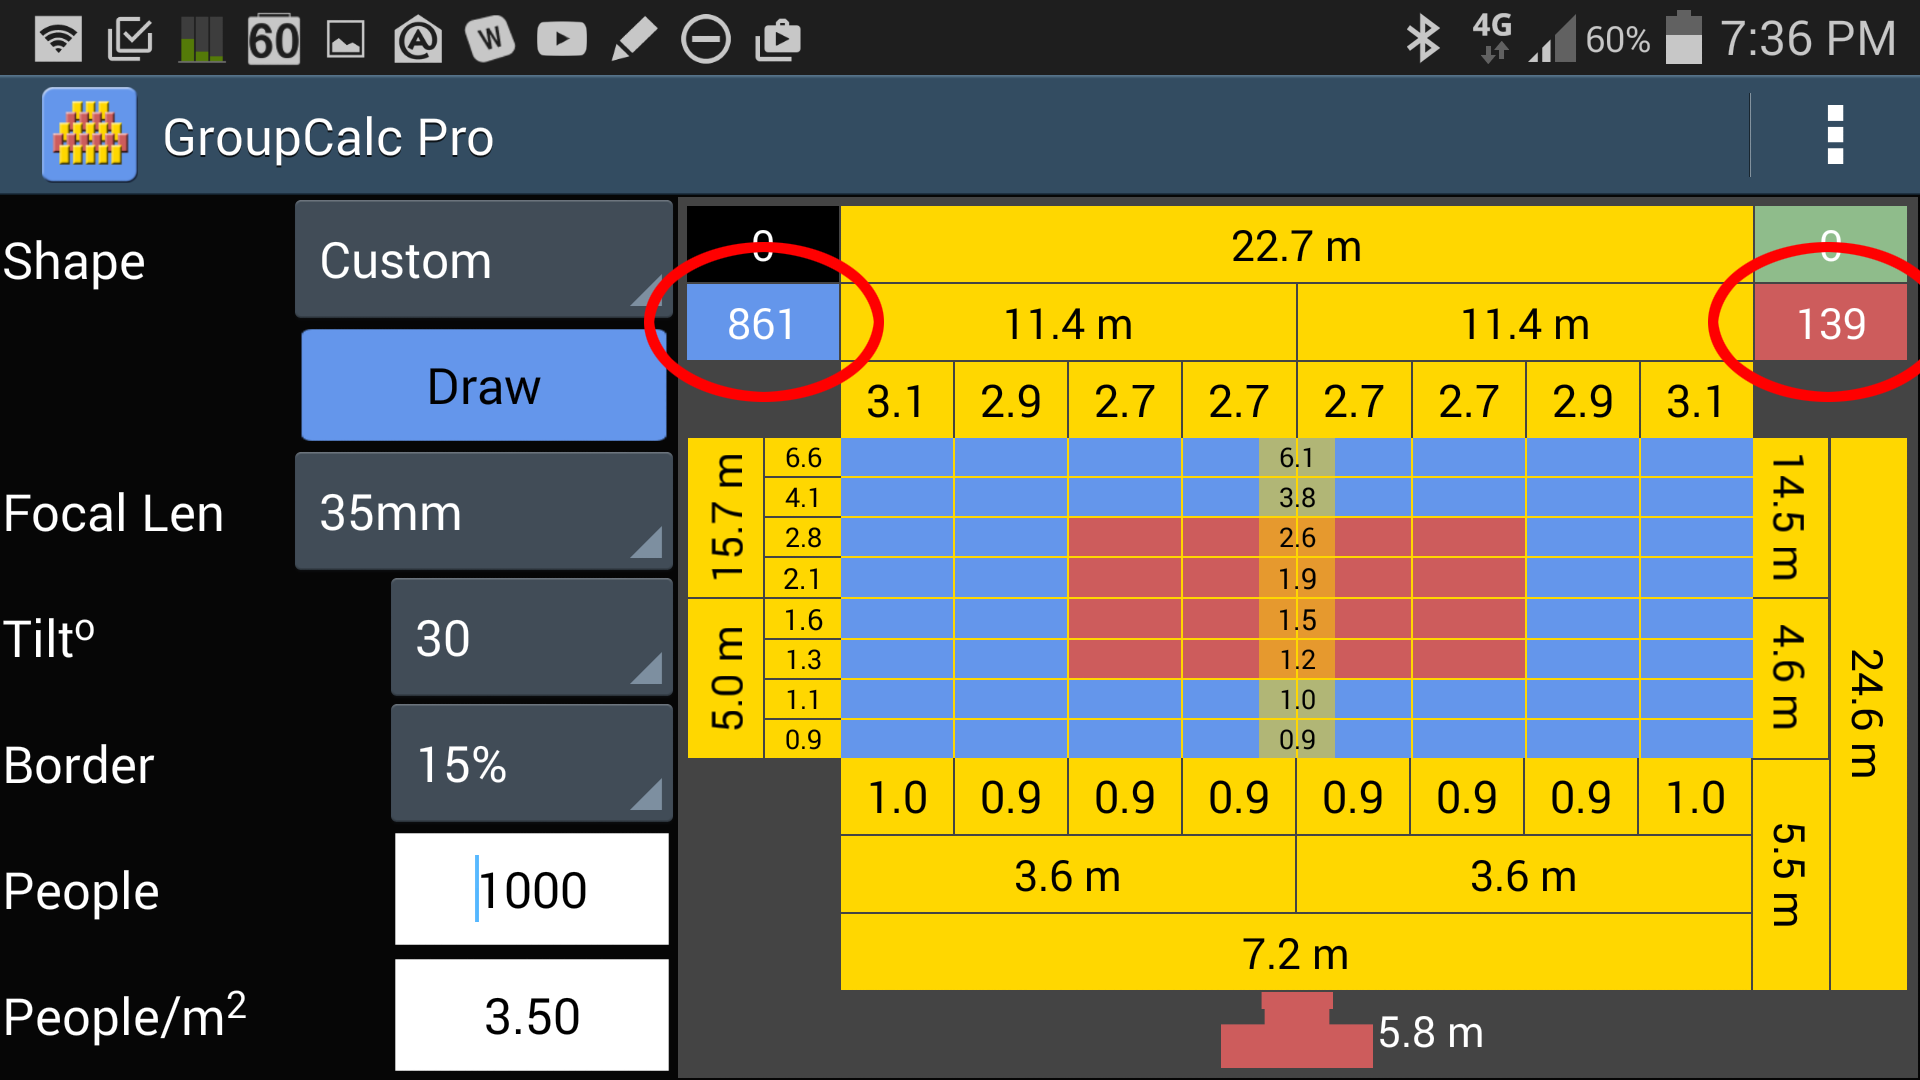
Drawing Shapes in Multiple Colours (Pro Version only)
GroupCalc Pro allows you to draw custom shapes using up to four (4) colours. For example, you might want to have the entire canvas area filled with people wearing blue, with others in red forming square in the middle. In additional to calculating the size and shape of the group, the calculator will tell you how many people need to be dressed in each colour to form your shape.

This is number of people who can fit in a square metre (or similar area in feet or yards depending on your Settings).
It is recommended that you determine the best value for your population by measuring how many people you can fit in a given area. Mark out a 3 metre square (or similar area in feet or yards) and fill the area with people of the same age as the people to be photographed. Don't pack them in too tightly as leaving some extra space will allow for variations in size, and allow room to move people closer together if you start to run out of space.
Count how many people fit in the area then divide by the area. For example if 30 children fit in a 3m by 3m area then the people/m2 is 3.33 (30 ÷ (3x3)).
If you prefer to enter this value in people/foot2 or people/yard2 you can change the measurement units in Settings.
As a starting point use the following values
|
People/metre2 |
People/foot2 | People/yard2 | |
| Children under 11 (standing) | 5 | 0.46 | 4.18 |
| Children under 11 (sitting) | 4.5 | 0.42 | 3.76 |
| Older children and adults | 4 | 0.37 | 3.34 |
The default value is 5.0 people/metre2. You can change the default value in Settings (Pro version only).
Size of the border around the edge of the group.
Typically you don't want the group to go right to the edge of the frame, you'll want a border to allow for mounting, or to allow for the finished photo to be a different aspect ratio to the camera. Leaving a border around the edge also gives you a margin of error if your measurements aren't quite right, or you can't get the camera to exactly the right height.
Recommended values for the border in 20% or 25%. The default value is 25%.
You can change the default border in Settings (Pro Version only).
This is the lens focal length you will be using for the photo. You should always choose a focal length in the middle of your zoom's range so that you can zoom in/out slightly if required. The default focal length is 35mm.
Short focal lengths (less than 35mm) should be avoided as very small changes in the focal length lead to dramatic changes in the size and shape of the group. This is especially true when combined with shallow tilt angles (less than 35o).
You can change the default focal length in Settings (Pro version only).
IMPORTANT NOTE: If your camera does not use a full-frame 35mm size sensor then you must specify the 35mm equivalent focal length.
This is the camera tilt down from the horizontal measured in degrees. The default value is 45o.
Tilts shallower than 30o are not recommended as the keystone distortion becomes extreme and small changes in camera angle or focal length will result in very large differences in the size and shape of the group. This also means that minor errors in measuring and setting up the group on site will be more noticeable.
You can change the default camera tilt in Settings (Pro version only).
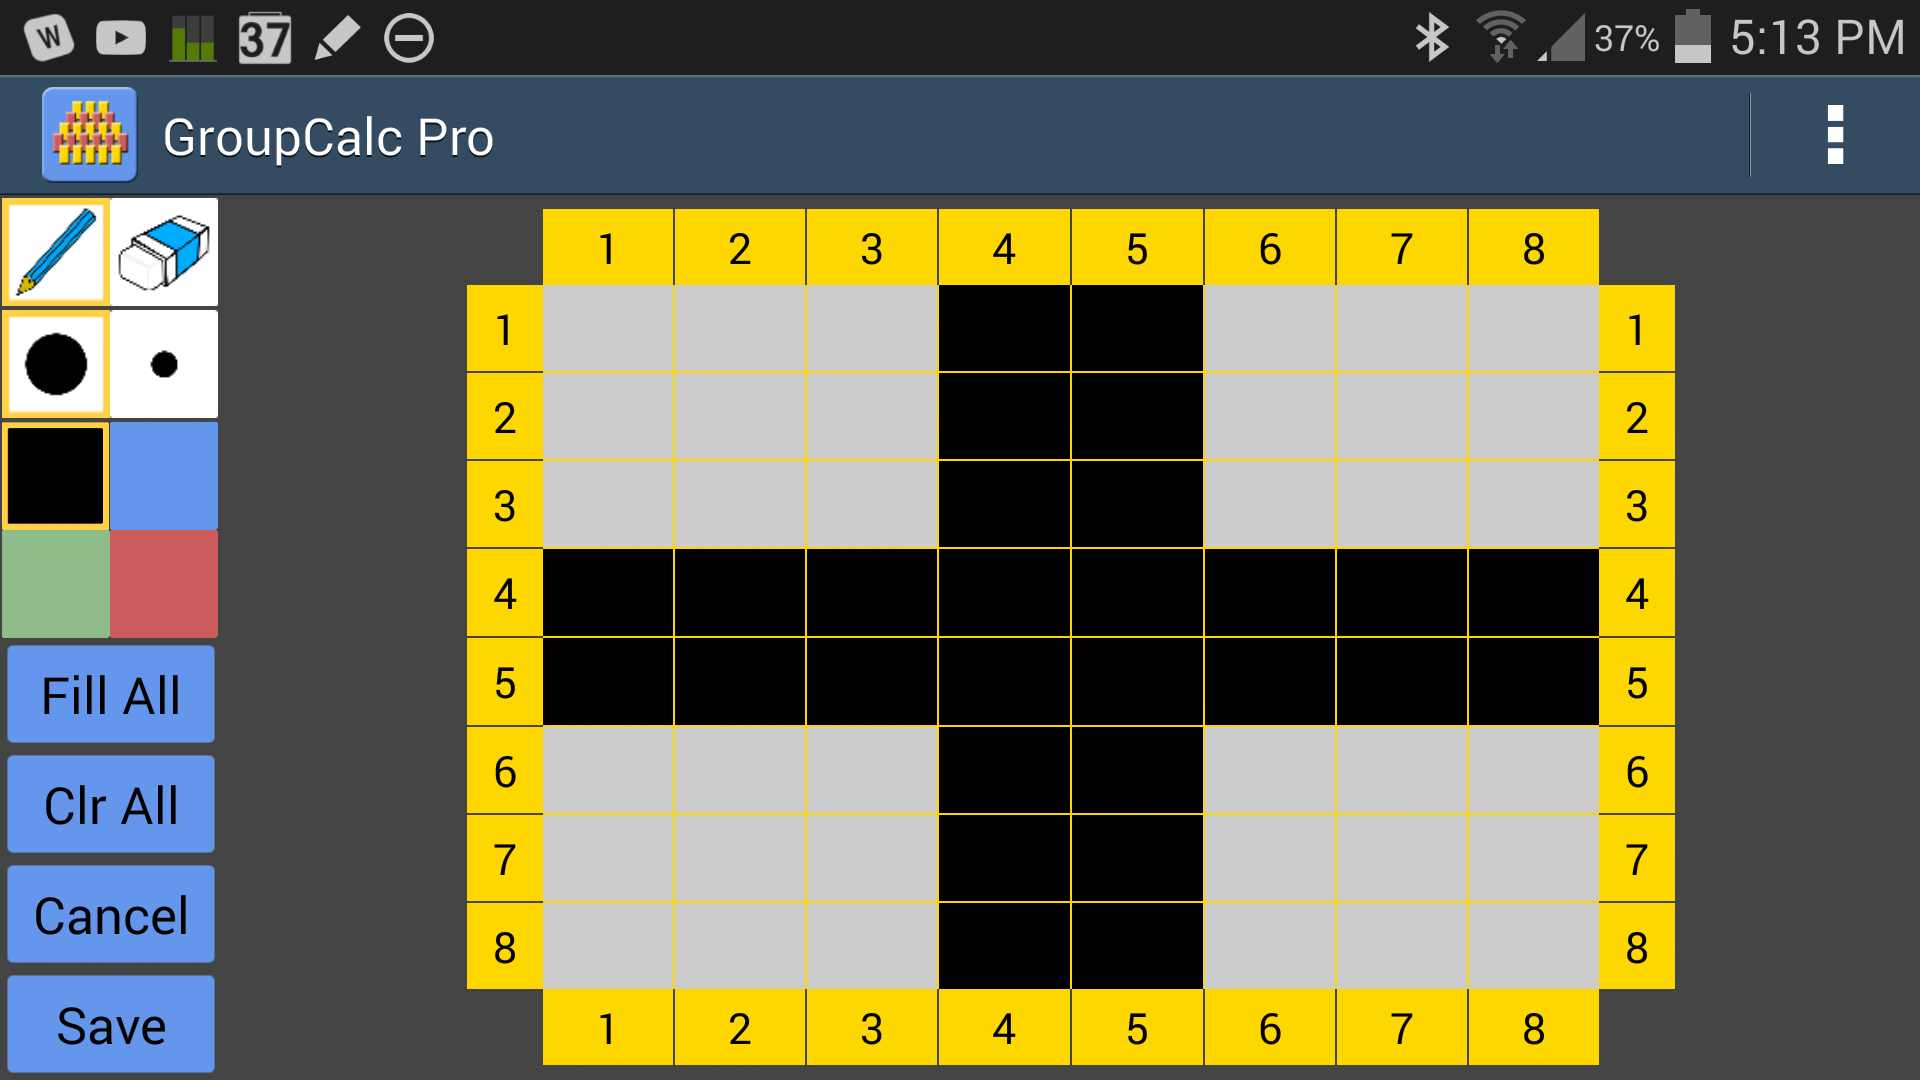
To draw a custom shape set the Shape to Custom in the Keystone Calculator, then tap the Draw button.

This will take you to the Custom Shape Editor. Note that the custom shape editor will force landscape orientation.

The area surrounded by the yellow rulers is the canvas area on which you draw your shape. To draw in this area touch anywhere in the canvas area and moving your finger (or stylus). The rulers and guide lines are provided to assist in drawing your shape.
Light grey is the background colour and indicates that nothing has been drawn on that area (i.e. no people will occupy this space in the photo).
The buttons on the left are used to control how you draw:
The pen and eraser buttons ![]() let you choose between drawing with the current colour and erasing when you touch the canvas area. The red border indicates which is currently selected.
let you choose between drawing with the current colour and erasing when you touch the canvas area. The red border indicates which is currently selected.
The pen size buttons ![]() let you choose between drawing (or erasing) with a thick point or a thin point. The red border indicates which is currently selected.
let you choose between drawing (or erasing) with a thick point or a thin point. The red border indicates which is currently selected.
The colour pallet buttons  let you chose the colour to draw. You have the option of four colours. The red border indicates which is currently selected. Note that if you select a colour while the Eraser is selected, then the Pen will automatically be selected.
NOTE: Drawing in multiple colours is only supported in the Pro version. In the Free version you can only draw in Black.
The Fill All button fills the entire canvas area with the currently selected colour.
The Clr All button clears the entire canvas area.
The Cancel button discards all the changes you have made to the canvas area and returns you to the keystone calculator.
The Save buttons saves your current shape and returns you to the Keystone Calculator.
Using the menu button you can also import and export shape definitions (Pro version only). See Import/Export Shape.
